When building internet applications, testing across multiple browsers and operating systems is essential. You want to be sure your application can be accessed by as many users as possible. I currently develop on Linux and macOS systems, so testing Windows can be a bit of a challenge. Virtual Machines (VMs) are a great way to overcome this hurdle.
This article will capture the steps I used to get a Windows 11 VM running on Apple's newer M1 ARM processor using VMware Fusion.
Download and install VMware Tech Preview
Based on my previous experiences with other virtualization products, my preference is to use VMware as they seem to have the best end user experience and performance. In addition, the VMware Tech Preview is currently free. Here's the location where I was able to download VMware Fusion from: https://customerconnect.vmware.com/downloads/get-download?downloadGroup=FUS-PUBTP-2021H1. Note the "for ARM" in the download version label.
Download and install Windows 11 Insider Preview
Convert the VHDX to VMDX
brew install qemu
qemu-img convert -f vhdx -O vmdk Windows11_InsiderPreview_Client_ARM64_en-us_22598.VHDX Windows11_InsiderPreview_Client_ARM64_en-us_22598.vmdk
Creating the VM
1. Select File -> New in Fusion

2. Select 'Create a custom virtual machine' and press 'Continue'

3. Select 'Other 64-bit Arm' and press 'Continue'

4. Select 'Use an existing virtual disk' then press 'Choose virtual disk...'

5. Locate and select the 'vmdk' created in the previous section, select 'Make a separate copy of the virtual disk', the press 'Choose'.

6. Confirm the settings and press 'Continue'

7. Press 'Customize Settings' in order to give the VM the necessary CPU and memory needed.

8. Use the default or set a custom name for the VM and press 'Save'. This will cause the vmdk to be copied.

9. Select "Processors & Memory"


11. Then clicked the big Play button to start the VM.

12. After a short amount of time and a VM restart, the following screen came up:

I continued but found but was quickly stopped at the network connect screen. It appears there isn't a default driver available that works with the VMware virtual network. So here are some steps to get around it.
- Press Shift + F10 to open a command window
- Run 'OOBE\BYPASSNRO'
After the above, the installer automatically restarted.
13. Enter your Country, then Keyboard settings. Now when we get to the network connection page, a new option is now visible that allows skipping the required network:

14. Press "I don't have internet", then "Continue with limited setup".
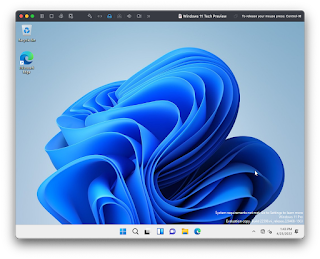
15. Finish the rest of the setup and... Windows is up and running!
Fix Networking
Hey wait - the VM isn't going to be very useful for testing websites if it cannot connect to the internet!

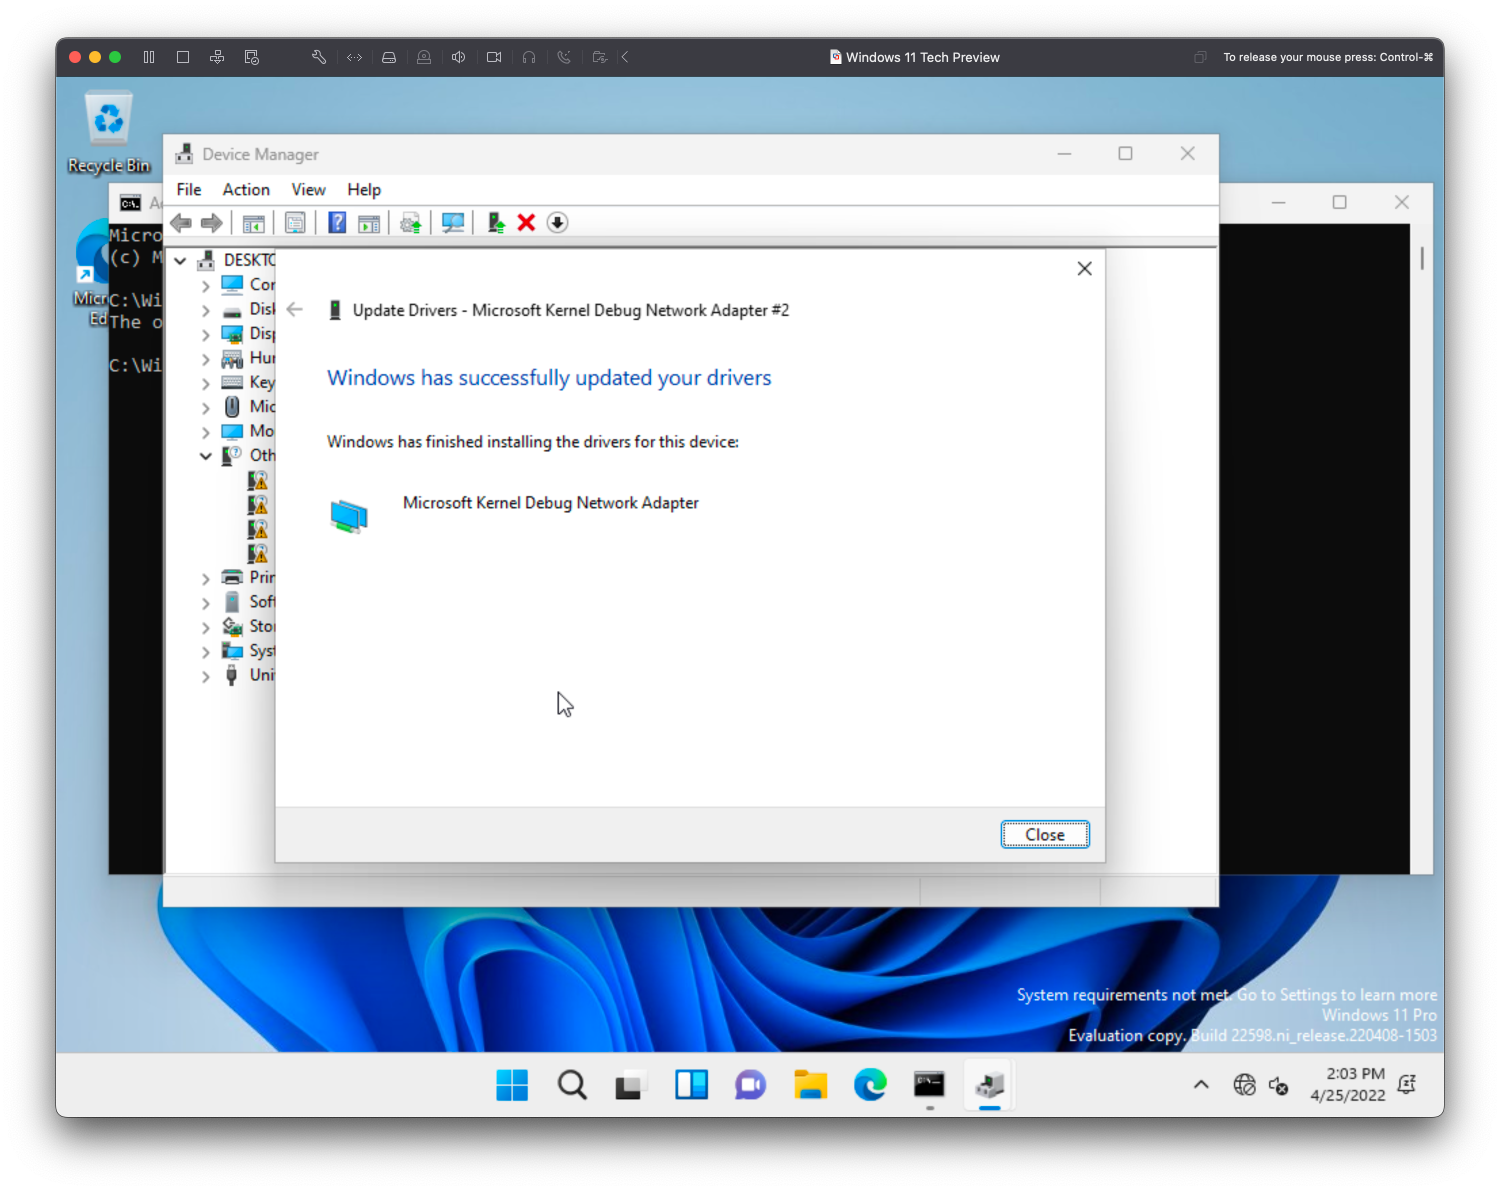
We need to get that network interface working! Luckily there is a hack that sets up the network by using the Microsoft Kernel Debug Network Adapter.
Open Device Manager and find the Ethernet Controller under "Other devices", right click and select "Update driver"

Select "Browse my computer for drivers"

Select "Let me pick..."

Scroll and find "Network adapters" and press "Next"

Select "Microsoft" then scroll to find "Microsoft Kernel Debug Network Adapter" and press "Next"

Press "Yes" when the warning comes up

Now, open a command window as Administrator
Run "bcdedit /debug on"
Restart the VM
When the VM comes up again you should see the following:
Testing with Internet Explorer
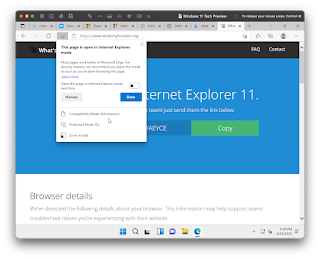
Microsoft has stated that support for Internet Explorer is retiring on June 15, 2022. Ideally many websites will stop supporting it too. However, we still have business requirements to support it and test it, so how can we test this with Windows 11? It looks like Microsoft Edge in Windows 11 has a "compatibility" mode which can be turned on in the Settings:

With the Internet Explorer compatibility now allowed, the following screen shows a new available selection:

A few more setting options after switching to IE compatibility mode:
Super, now Edge should be using the IE compatibility mode and we can test websites with IE.

References:
- https://communities.vmware.com/t5/Fusion-for-Apple-Silicon-Tech/Tips-Techniques-Gotchas-for-the-Tech-Preview/ta-p/2893986
- https://communities.vmware.com/t5/Fusion-for-Apple-Silicon-Tech/Fusion-Tech-Preview-Testing-Guide/ta-p/2867908
- https://pureinfotech.com/bypass-internet-connection-install-windows-11/#:~:text=Click%20the%20Skip%20button%20if,Windows%2011%20and%20press%20Enter.
- https://www.reddit.com/r/vmware/comments/obpg4c/windows_11_on_arm/
No comments:
Post a Comment